Showing posts with label Chalkboard Sign. Show all posts

Jan 6, 2014

Painless Tattoo!


Hi everyone!  Hope you are having a wonderful Monday morning and are ready for a bit of sketchy inspiration!  This week you are getting a sneak peak of the upcoming sketch over at CAS(E) this Sketch (shhh...don't tell anyone).  I must admit that this one had me stumped for a bit but I'm really loving what came out of my crazy mind when I finally figured it all out!  Here's the sketch:


 I was stuck in the feather zone for awhile with the sketch and just couldn't get past them.  Finally, I thought of balloons and that started the creative juices flowing.  I turned to Fall Gratitude for my balloon shapes.  Seriously, would these not be the coolest balloons ever with those patterns?  I also had to use Elegant Sentiments...how could you resist that script?  It's gorgeous! 


I found some splattered/bleached paper in my stash which made a perfect background for my balloons.  I stamped each balloon on other papers in my scrap stash and to give them a little fun twist, I used Glossy Accents for dimension and shine.  I embossed "happy" to make sure it stood out against the background and it turned out perfectly.  I connected my balloons to the sentiment with some hand drawn strings.  I love how it all came together and was thrilled that I pulled it off without feathers!  ;)


For my 2nd take on the sketch I layered the rose image from Elegant Flowers on top of the heart from Cookie Sprinkles.  These two images worked perfectly with a sentiment from Chalkboard Sign.  I did a little tweaking to the images that I'll show you in a second.


For some reason, when I layered the flower bud and the heart on my colored paper, my mind went straight to a tattoo.  So, I decided to look up different means of making an image look like a tattoo.  By adding some simple lines, some shading with copics, and a little reflection triangle on the heart, I think I got a pretty good looking tattoo for my card.  A simple technique but I think it's a fun one to try out!  Check it out:


To complete the card, I did a cheat chalkboard background using some patterned paper I had lying around that already had the chalkboard look.  I went with the Chalkboard Sign sentiment, "I Love You" because I thought it worked well with a tattoo image and I embossed it to make it pop.  Here's the completed card.  What do you think?

    
I hope you enjoyed my two takes on the sketch coming up this week at CAS(E) this Sketch and got a new technique to try with your Sweet Stamp Shop stamps.  Have fun with the sketch and share your creations on our Flickr group.  Don't forget to check out the Sweet Stamp Shop Facebook page for up-to-date info and offers.  Plus, a new release is right around the corner and believe me, you won't want to miss it!  Have a great week!

-Chrissy Pin It

Nov 1, 2013

Just Add Ink: Making A Scene

Hi! It's Tyra and I'm here to share how you can easily make a scene using a little ink and patterned paper.  I have created a few tags using patterned paper and stamps from the Speedy Greetings and Chalkboard Sign sets:


I used a die cutter to cut tags from patterned paper. Then, I stamped and cut out the individual elements from the Speedy Greetings Set.  Finally, I used foam squares to create a scene inside these little gift tags:


I thought the second tag could use a little "snow" so I used pearls of various sizes to create a winter scene.  I love the banner from the Chalkboard Sign set.  The paper I used was double-sided so the tag's frame and background is from the same sheet.


Easy and just in time for the holiday season! Share your holiday-themed creations on our Flickr Page! 

Wait! Before you go, did you see yesterday's BIG ANNOUNCEMENT and GIVEAWAY?

Check it out HERE.

Thanks so much for stopping by! Take care, Tyra 

Pin It

Oct 8, 2013

Triple Sweet - Nicole, Jessica, Michelle

HEY Sweet friends! Nicole here ... this is going to be a LONG post - I had a bit of a 'oops' moment and scheduled two ladies for the same day today... so, Jessica AND Michelle will be on today showing off their SWEETNESS! Hooray!


But, first - did you know that I help my good friend Corinna (owner of Ribbon Carousel - pictured above) with creating a card for her blog once a month - I suppose I might even say, I'm one of her 'designers' --- BLUSH! What a genuinely NICE person.... and I can't encourage you enough to support her and Ribbon Carousel... she's just so amazing.... today I'm on the Ribbon Carousel blog with a special 'sneak peek' of our October release... so head on over there and check it out!


__________________________


 Happy Tuesday, Sweet fans! It's Jessi here from Kissin' Krafts!  Are you ready fro another Tutorial Tuesday? Today we are talking Ombre stamping. I am in love with the Ombre technique.

Today's card uses Sweet Stamp Shop's Chalkboard Sign stamp set:


The Ombre technique is very simple to complete. The best way to apply the different color inks to the stamp is to go from light to dark. The first color I applied to the stamp was the light blue. The light green-blue ink is added above the light blue. The dark green and darker blue are added towards the end.


I wanted the Chalkboard Sign stamp to be the focus of the card, so I kept the design simple and stamped the image twice. The banners are cut out and adhered with foam dots to add dimension to the card.


Alright, Sweet Stamp Shop friends! I need your help! What are the latest trends that you would like to see us explore in upcoming tutorials? I cannot wait to hear your ideas!

 _________________________________


Hi Sweet fans! It’s Michelle Y. here today with one of my favorite parts of the month – Double Take!!! Today we are going to be focusing on a very basic and versatile shape – circles! I love being able to turn a simple shape into something awesome – it makes you think a little more creatively to find ways to use it!

I decided I wanted to make a confetti-like effect for my projects. And of course, since this is a Double Take, I wanted something that would work for both a layout and a card.


One of the best ways to get double duty out of your supplies and projects is to use BOTH the positive and negative shapes of die cuts/punches. I designed a fun background with circles, which you can download at my blog here, and cut it out of some watercolor paper that I had painted on very subtly. I thought it would be a perfect opportunity to use on top of that beautiful rainbow paper from Crate Paper, because it hides some of the busyness of all that color! I love this effect, because I looove color, but sometimes think it is too overwhelming for my pictures; this way, I get to see some of that lovely design, while still focusing on what’s important on the page.

After that was done, I went to work adding lots of layers under my photo and then going crazy with my Sweet stamps. I used sentiments from Triangle Style as well as Made By #2. My layout was about how I love to create things, and about the first skirt I sewed, so I couldn’t have thought of more perfect sentiments to go along with my story!!! Here are some close up shots of the page and the stamping and the final page

Oh, and those cardboard/chipboard stars - same, easy DIY concept as my last Double Take!


So after my layout was finished, I had a bunch of those circles left that had been die cut.


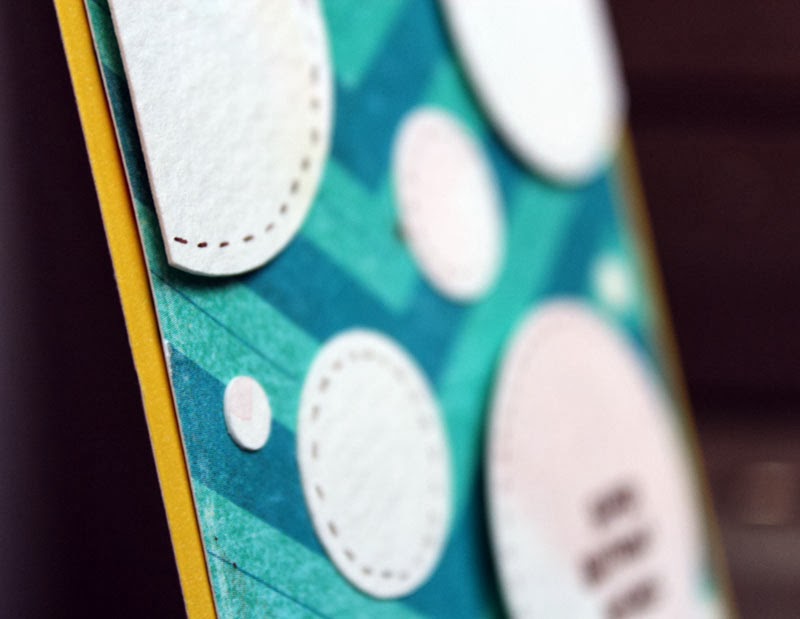
I thought they would be perfect just scattered on a background with a bold background. They kind of looked like bubbles, which I thought was really fun! To add more interest, since the watercoloring is very faint, I added some dashed lines and mounted some of the circles up on foam tape, making sure that the circle with the sentiment popped up the most.


That was all I needed to make a fun, yet easy card with leftovers! Don’t you LOVE when that happens?? It’s like getting a bonus project from almost nothing!!


Here are the Sweet Stamps I used in these projects:


How will you use circles in your next project? Maybe you could make a garland of circles, or make a fun bokeh effect by stamping the super cute small sequins and circles in the Easily Distracted set… or try some fun confetti… the possibilities are endless! Be sure to link up a project using circles if you decide to make one – I’d love to see what you come up with! And if you enter it into this week's Use What You Have Challenge, you can even win something sweet!!


Also... our October release is coming soon!! Make sure you join our event on Facebook so you can add it to your calendar!! It's going to be a great release, and I can't wait to show you what I've done with the AMAZING new stamp sets!!

Pin It

Sep 29, 2013

Feeling Trendy- Arrows

Hello again!!!

Michelle B here....and we have a winner from our last riddle! Nine of you guessed correctly. The answer was arrow!!!
The random winner is....Teresa Godines #6857 ! Congratulations Teresa, you're the lucky winner of a new Made by 2 stamp set!

Onto the trend...


Arrows are popping up everywhere! You can find them in the form of stamps, pattern papers, wood embellishments, wire paper clips...whatever your fancy, snatch them up and start using them!!!


They are so much fun to play around with!

These arrow and sentiments are from the set

The hearts are from the set


Hope you enjoyed my take on arrows! If you create a card using one of the arrows from any Sweet Stamp set leave me a comment...I would love to stop by for some inspiration!!!

See you soon!

Michelle


Pin It

Sep 26, 2013

Triple Sweet Thursday: Fusion Card Challenge

Hey everyone!

Happy Thursday!! It's Alyssa here again from My Thoughts Exactly with another Triple Sweet Thursday - 3 Cards, 3 Ways, 1 Challenge! Once again I'll be spotlighting ONE challenge and rocking it THREE ways to get you inspired!

This week's featured challenge:


About the Challenge:

Fusion Card Challenge offers a new challenge every other week in which you are provided with BOTH an inspiration image AND a card sketch. You use JUST the image, JUST the sketch, or BOTH. Once the entry period has ended all of the entries are opened up to voting. The entry that receives the most votes is declared the Zen Master and 3 Honorable Mentions are also chosen.


Why I Love This Challenge:

OPTIONS. This challenge is basically TWO challenges in one: and inspiring image AND a sketch, PLUS the added option of combining the two. I LOVE options when it comes to challenges, the more inspiration the better, and Fusion Card Challenge really delivers. Another thing I love is that this challenge offers the chance for our peers to VOTE. Most challenges seem to be random or judged by a design team, Fusion is more of a people's choice. And don't we all just LOVE to have a say and get a VOTE these days?


The Current Challenge:


I just LOVED this funky inspiration photo (which just happened to include my two favorite colors: teal and green!), and who doesn't love a classic sketch with banners??


3 Cards - 3 Ways - ONE Challenge

Way 1 : Inspiration Photo ONLY


For this first card I decided to pull inspiration from the photo ONLY. I chose to use the colors mostly, but I also pulled from some of the shapes on the cups which is what pulled me to use the trees from the Sweet Stamp Shop Fall Gratitude stamp set. The "Fall in Love" sentiment is also from this set.


Way 2 : Sketch ONLY


For this next card I decided to focus on the sketch ONLY. I turned the sketch on it's side and used the bullseye from the Sweet Stamp Shop Wheely Like You stamp set as my circle. In place of two of the banners I used arrows (one from Wheely Like You and the other from Made By #2). The sentiment is also from Wheely Like You. Instead of using a patterned paper I decided to create a similar effect with watercolor.


Way 3 : Inspiration Photo AND Sketch


For this final card I decided to combine the inspiration photo AND the sketch. All of the stamps you see here are from the Sweet Stamp Shop Chalkboard Sign set. Once again I turned the sketch on it's side. I stamped the hearts in the colors I pulled from the inspiration photo. In place of the main circle I used my "I Love You" sentiment, and in place of the banners I used arrows.


Don't you just LOVE the OPTIONS??


SSS Used in These Projects:


I'm looking for MORE challenges to feature right here on the SSS blog! What is YOUR favorite challenge to play along with? Leave me a comment and let me know!


If you were to enter this Fusion challenge which route would you take? Inspiration photo, sketch, or both??


Have you checked out the SSS Pinterest and Flickr pages?
There's TONS more fantastic inspiration on those pages so be sure to click and check them out!!


And before I go I just want to say that Sweet Stamp Shop has some REALLY exciting things around the corner, so be on the lookout for the next release, I know you're going to LOVE it!


Big bloggy hugs,
<3 Alyssa
Pin It

Sep 24, 2013

Sweet Tutorial Tuesdays


Welcome to another SWEET Tutorial Tuesday! I know that we stampers know how to use our stamps the traditional way. But have you ever thought about using the back sides of the stamps? Don't know what I am talking about? Continue to read more! I have fallen in love with this technique!

It is SUPER simple! First, ink up the back of the stamp and stamp onto the paper.


Next, turn the stamp back to original side and ink, stamp, done...


If you are not great at coloring (like myself), this gives an easy way to color an image to match paper, etc. This technique leaves a smudgy ink look...not sure the correct way to describe it, so I hope you talk my language ;)

So I made a few of this tickets to complete my card. As you can see below, I stamped a design on the side tickets, using the stamp color ink. I love how it stands out!


I would love to hear some ideas of tutorials that you would like to see in the future! I love to learn new and fun ways to use Sweet Stamp Shop's stamp! Please leave a comment with your AWESOME ideas!

The fun Admit One and Chalkboard Sign stamp sets was used in today's card:

                                             
Admit One 

Chalkboard Sign


Have a wonderful day!

Jessi

Pin It

Sep 21, 2013

Feeling Trendy- Chalkboard

Hey there crafters!
Michelle B back with another post on what's trending! But first...let's get an answer to the riddle:
When I'm new I'm remarkably plain,
But after first use, I'm never the same,
People clean me a lot, but I'm never like new,
The changes come off, but leave residue.


The answer is: Chalkboard

Well today I am sharing a chalkboard design! These are popping up everwhere and are a pretty easy technique!

I used three sets...
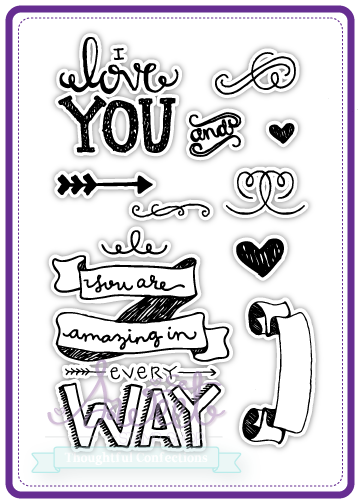
                                                                Chalkboard Sign


Here is my take on the chalkboard craze...

Simply trim your black cardstock, heat emboss your sentiments and images, than use white ink on a sponge applicator to add 'chalk residue' to the background.
I just love the way to fireworks add movement to the card. And adding some sequins really makes it pop! The tiny hearts pattern paper is from My Mind's Eye.

Well, do you like?
I hope you will give it a try!!

How about a give-a-way?
If you can answer this next riddle...*hint* this is our next trend.

I have many feathers to help me fly. I have a body and head but I'm not alive. It is your strength which determines how far I go. You can hold me in your hand but I'm never thrown. What am I?

The winner will receive a  new Made by 2 stamp set

Isn't she awesome!!!
Thank you Nicole!!


See you soon!
Michelle


Pin It